
Install guide

Make your bike glow.

Twelve waterproof strips, a compact controller and a built-in toggle switch. Fit MotoGlow yourself in an afternoon.

  • 2–3 hrsInstall time
  • ModerateDifficulty
  • 12VBattery powered
  • 6 stepsStart to finish
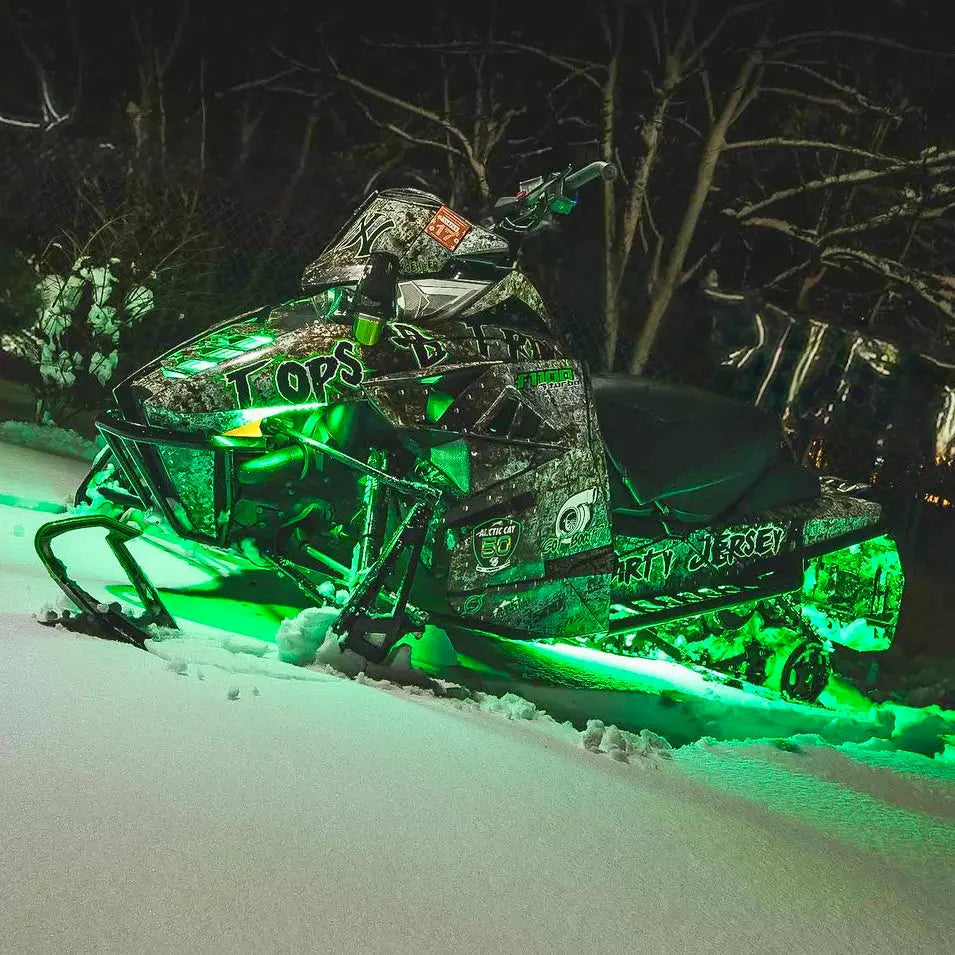
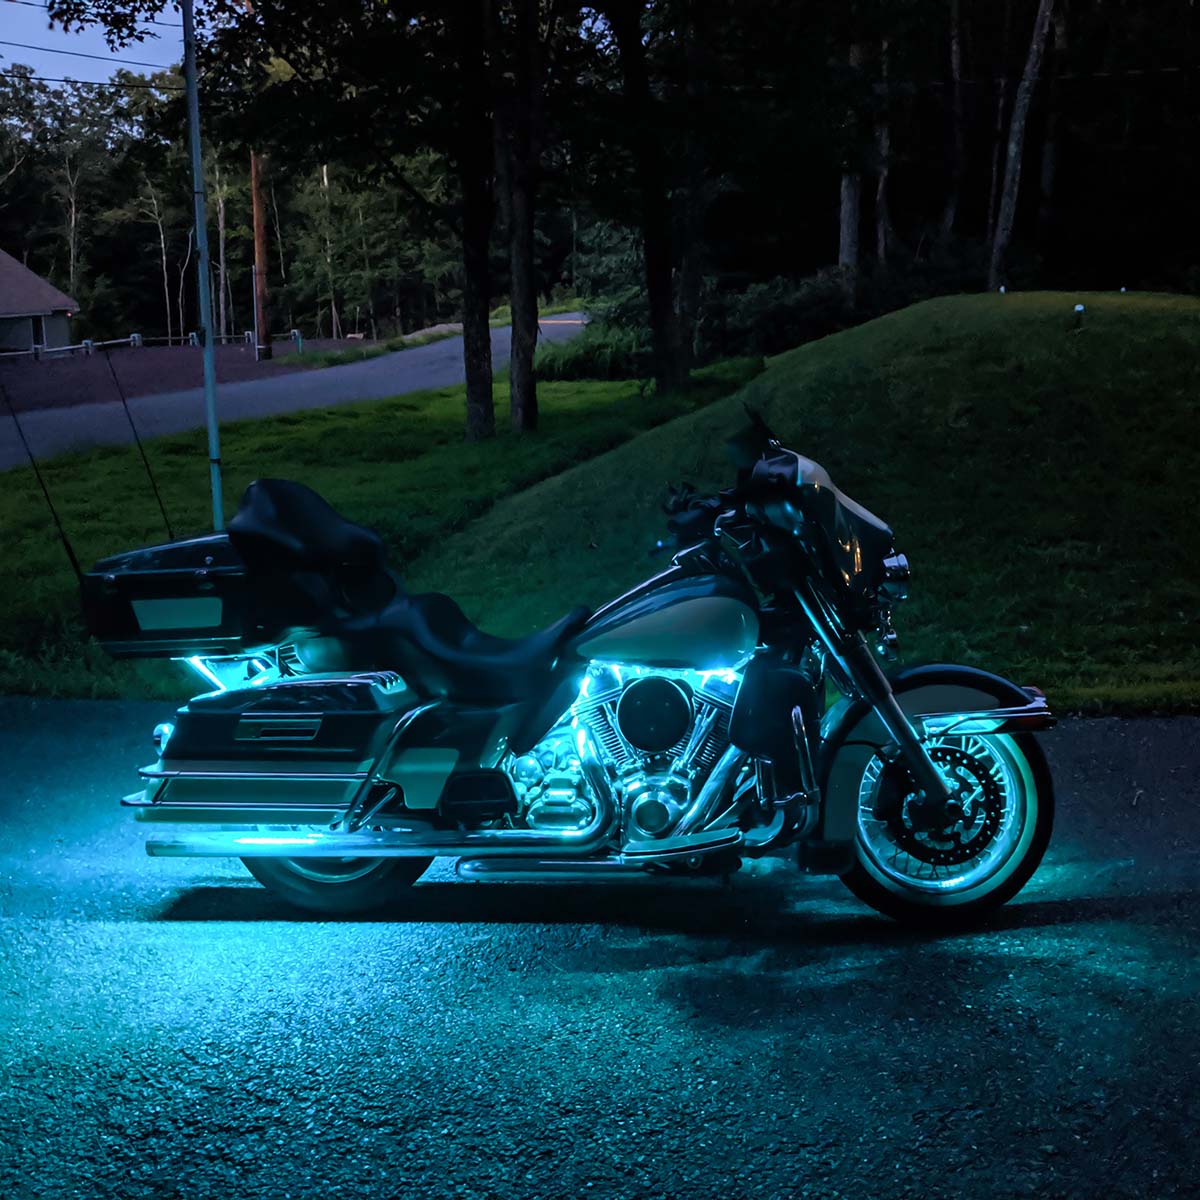
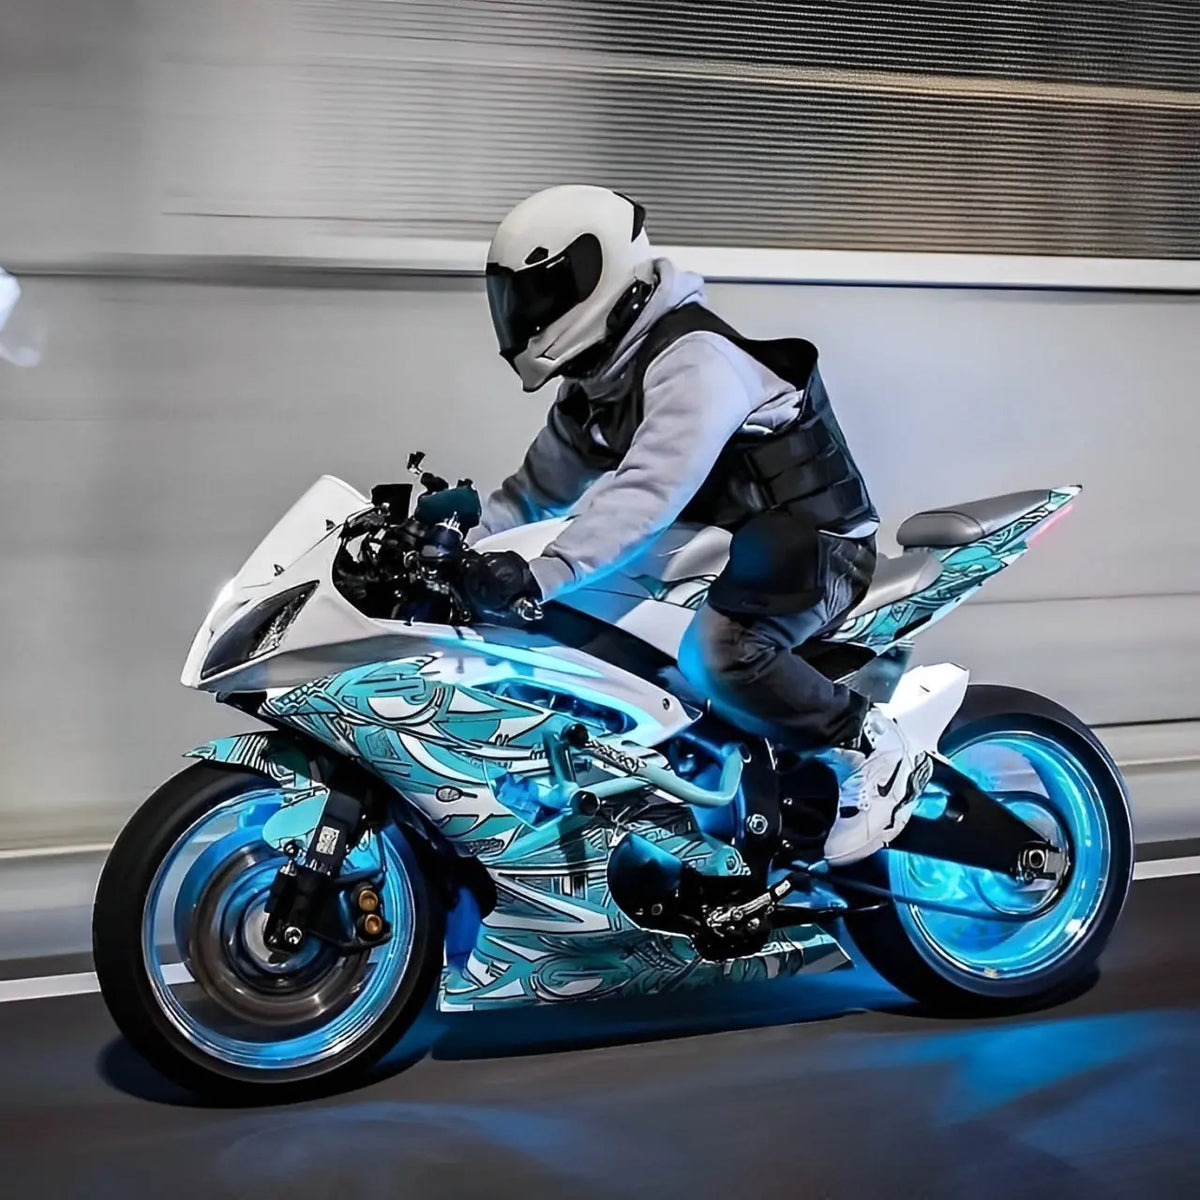
White Underglow motorcycle with bright green LED underglow lighting at night.
Before you start

Two minutes now saves an hour later.

  • Battery off for wiring

    Disconnect the negative battery terminal before you connect any power wiring.

  • Seat and panels off

    Most bikes need the seat off to reach the battery, and side panels off for a clean wire path. Check your service manual.

  • Clear of heat and moving parts

    Keep strips and wires away from the exhaust, chain or belt, swingarm and anything that turns with the bars.

In the box

Everything's included.

Twelve strips in three lengths, so you can light the engine, the frame and every gap in between.

Everything's included.
  • 4×15 cm stripsFor the engine and tight spots
  • 4×30 cm stripsFor accents
  • 4×50 cm stripsFor the frame and underglow
  • 4×Y-splitter cablesLink the strips to the controller
  • 1×Pro-Series controller & remoteApp or remote, 150+ scenes
  • 1×Toggle switch & harnessSwitch wired to the harness relay to save your battery
  • +Mounting hardware & user guideEverything to fix it in place
Tools

What you'll need.

Basic hand tools. Your service manual helps with removing the seat and panels.

  • Hex keys and screwdrivers
  • Socket set
  • Isopropyl alcohol and a clean cloth
  • Zip ties
  • Heat-resistant wire loomoptional
Step by step

Six steps to a glowing bike.

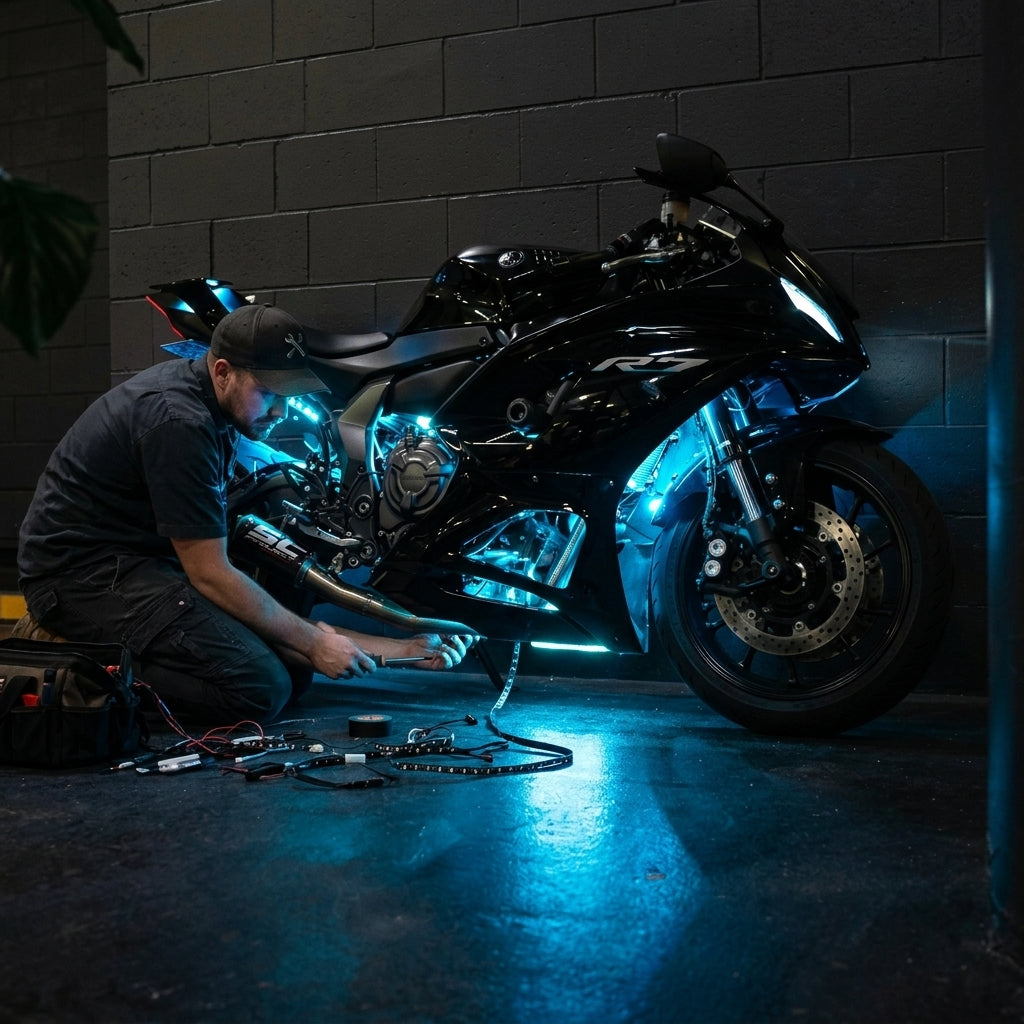
The photo follows the step you are reading.

Plan & test
1Step 1

Plan & test

Lay out all twelve strips before you mount anything.

  • Hold each strip against the bike to plan the layout: 15 cm for the engine and tight spots, 30 cm for accents, 50 cm along the frame.
  • Connect the strips to the controller with the Y-splitters and test them from the app.
  • Pick a dry spot for the controller, usually under the seat.
Pro tipMount strips so the LEDs point down or inward. You want the glow, not the dots.
Prep the bike
2Step 2

Prep the bike

Get to the battery and clean every mounting spot.

  • Disconnect the battery.
  • Remove the seat and any side panels you need to route wires.
  • Clean each mounting spot with isopropyl alcohol and let it dry.
Mount the strips
3Step 3

Mount the strips

Common spots are the frame rails, under the tank, around the engine and the fenders.

  • Fix each strip with its adhesive and the included hardware.
  • Add zip ties wherever a strip could catch wind or vibration.
  • Check nothing touches the exhaust, chain, belt or swingarm.
Pro tipPress each strip firmly for 30 seconds so the adhesive grabs.
Route the wires
4Step 4

Route the wires

Run every lead to the controller along the factory wiring.

  • Connect the strips to the controller with the Y-splitters.
  • Follow the frame and the factory harness, zip-tying every 15–20 cm (6–8 in).
  • Leave slack at the steering head and turn the bars lock to lock to check.
Pro tipAdd heat-resistant loom anywhere a wire runs near the engine.
Power & switch
5Step 5

Power & switch

Connect the harness to the battery and mount the toggle switch.

  • Red wire to the battery positive (+).
  • Black wire to the battery negative (−).
  • Mount the toggle switch somewhere you can reach it easily.
  • Secure the controller under the seat, away from heat.
Pro tipSwitch the lights off when you park. The switch cuts power through the relay, so nothing drains the battery.
Test & ride
6Step 6

Test & ride

Bring it to life, then put the bike back together.

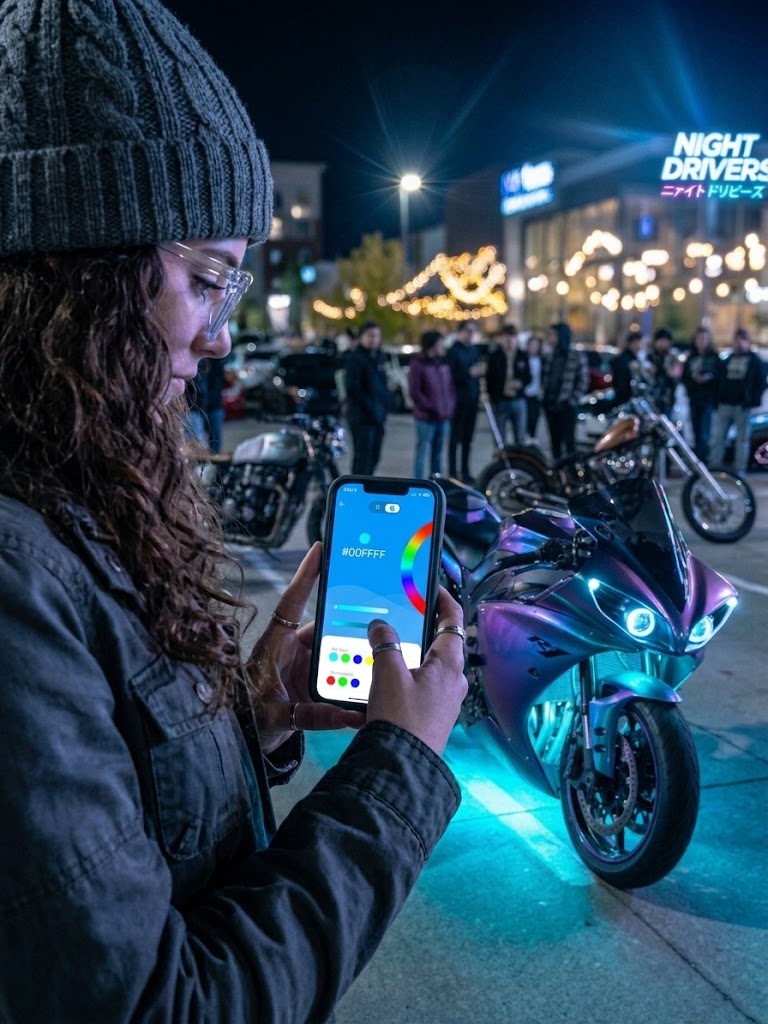
  • Reconnect the battery, flip the switch and pair the app.
  • Test every strip and a few scenes.
  • Refit the seat and panels without pinching any wires.
  • Take a short ride, then recheck every strip and zip tie.
Pro tipA user guide with detailed instructions is included in the box.
Wiring

Wiring at a glance.

The strips link to the controller with Y-splitters, and the controller runs from the battery through the switch harness.

  • Red wireBattery positive (+)
  • Black wireBattery negative (−)
  • Toggle switchHarness relay
    Cuts power when parked so the battery stays charged.
  • LED stripsY-splitters → controller
Pro tips

Do it once. Do it right.

  • Vibration is the enemyZip ties every 15–20 cm stop strips and wires from shaking loose on rough roads.
  • Steering checkTurn the bars lock to lock with the lights on. Nothing should pull, rub or flicker.
  • Keep it cleanWipe the strips with a damp cloth. Skip harsh chemicals to keep the IP68 seal in top shape.
  • Know the rulesRules on coloured lights while riding vary by province and state. Read our FAQ.
FAQ

Install questions.

Stuck? Send us a photo and your order number and we'll help.

Will it fit my bike?

Yes. MotoGlow is a universal fit for Harley-Davidson, Yamaha, Ducati, Honda and most other bikes. The three strip lengths reach tight spots on almost any frame.

Is it waterproof?

Yes. MotoGlow is IP68 rated, so it handles rain and road spray.

Will it drain my battery?

No. The toggle switch connects to the relay in the harness, so you can cut power completely when you park.

How long does the install take?

Most installs take 2 to 3 hours, depending on how many panels come off.

How do I control it?

With the app (150+ scenes) or the included remote.

Are instructions included?

Yes. A user guide with detailed instructions is included in the box.

More guides

Installing more than one kit?

Ready to glow?

Harley, Yamaha, Ducati, Honda and more. MotoGlow fits almost any bike.