
Install guide

Light up your cabin in an afternoon.

Hide flexible LED strips in your dash and door trim, power the kit from your fuse box and control every colour from your phone.

  • 1–3 hrsInstall time
  • ModerateDifficulty
  • Fuse boxPower source
  • 6 stepsStart to finish
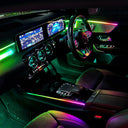
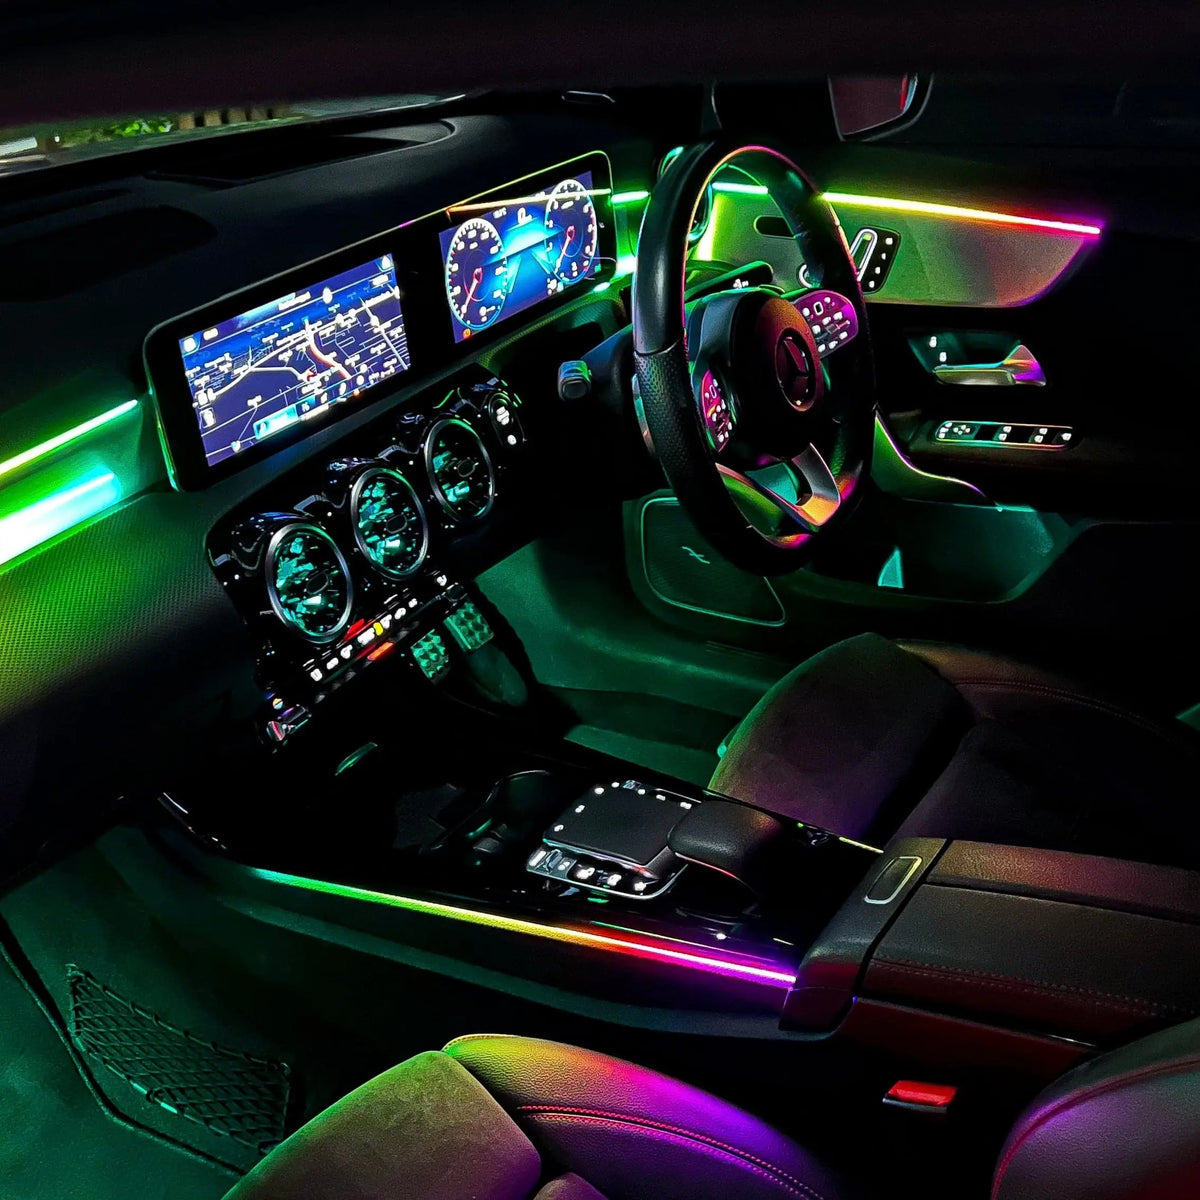
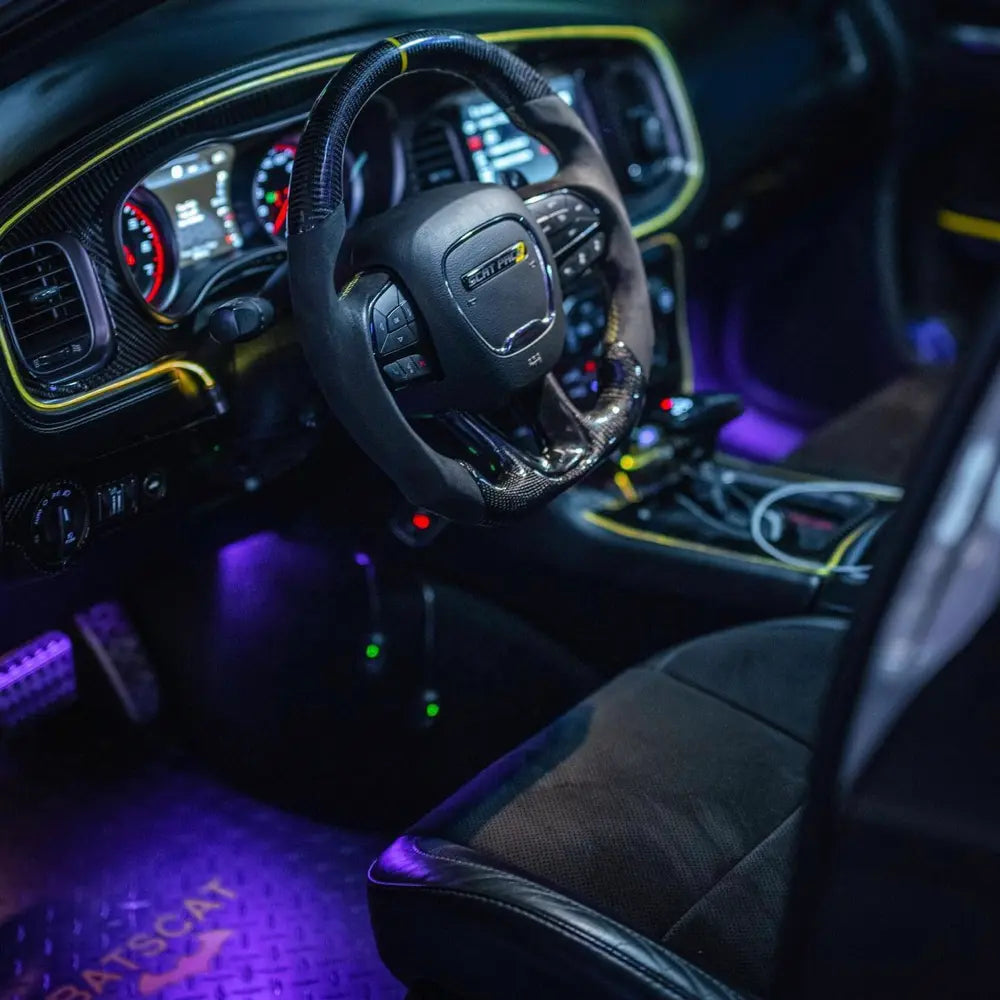
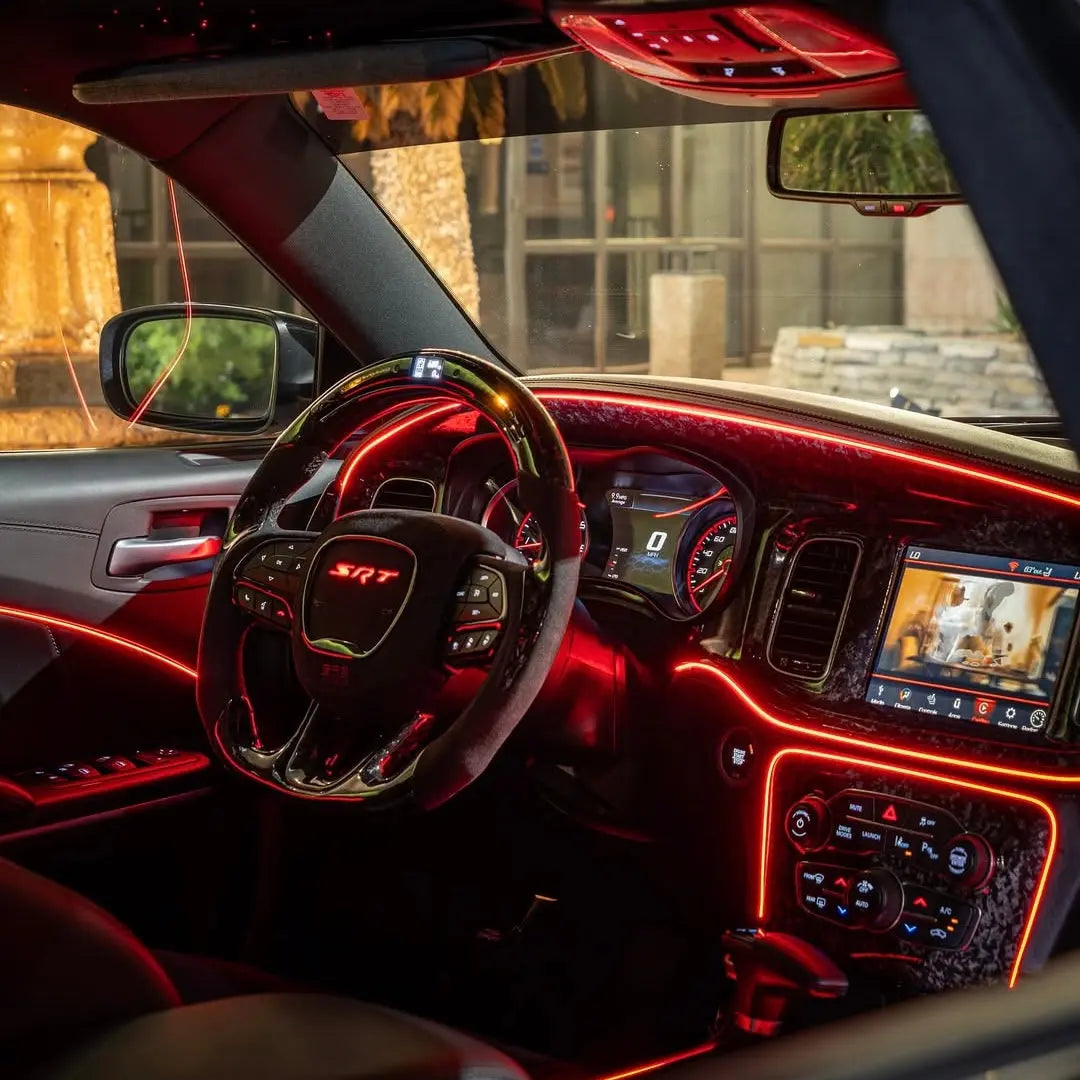
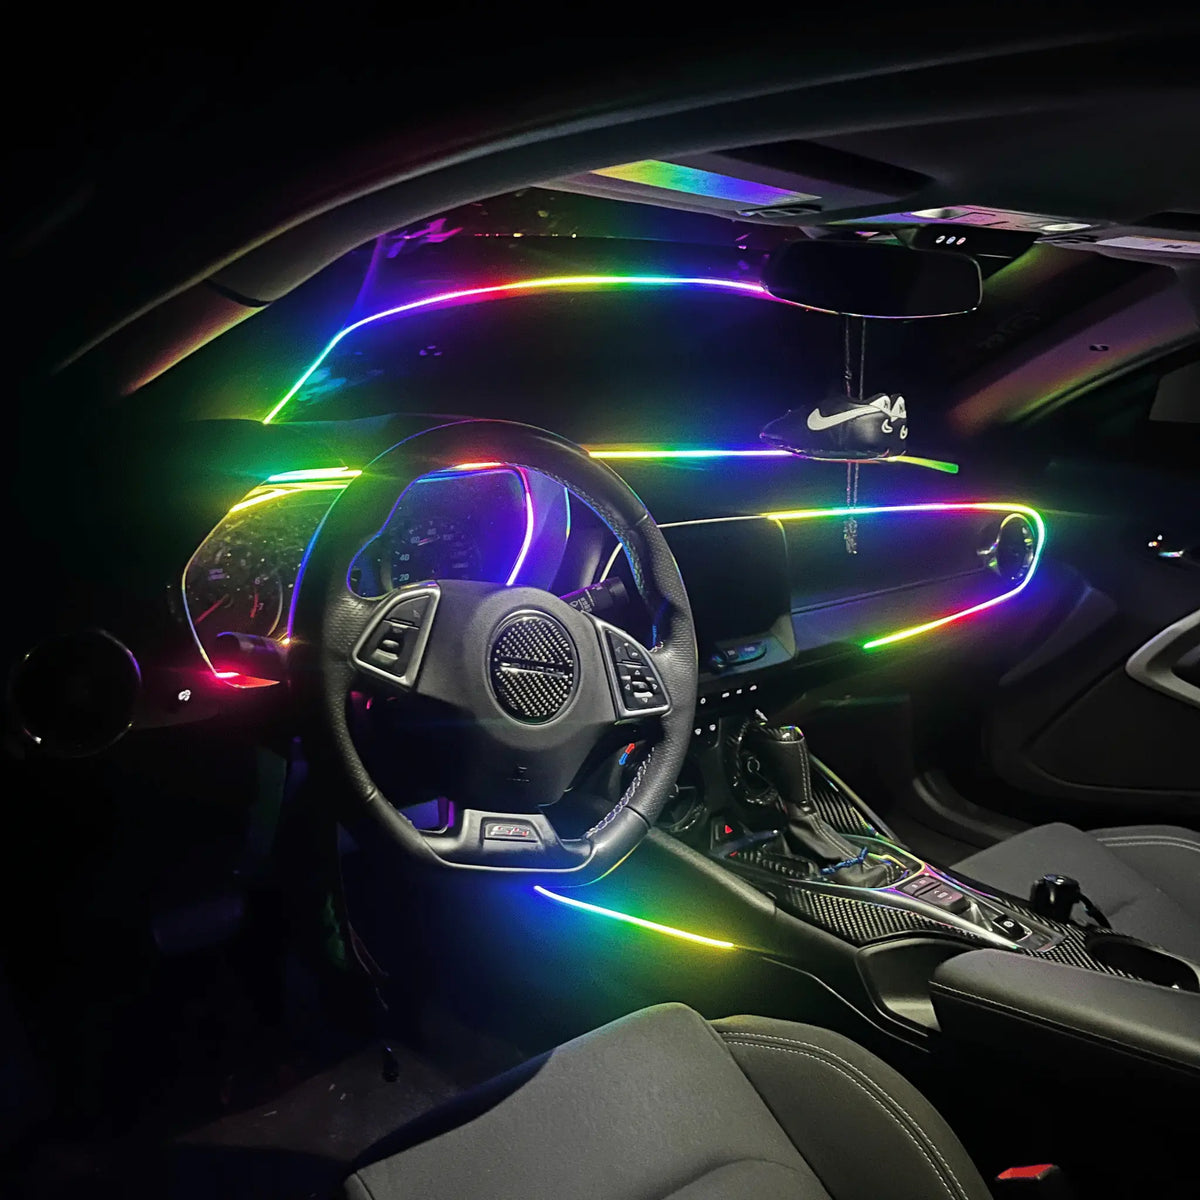
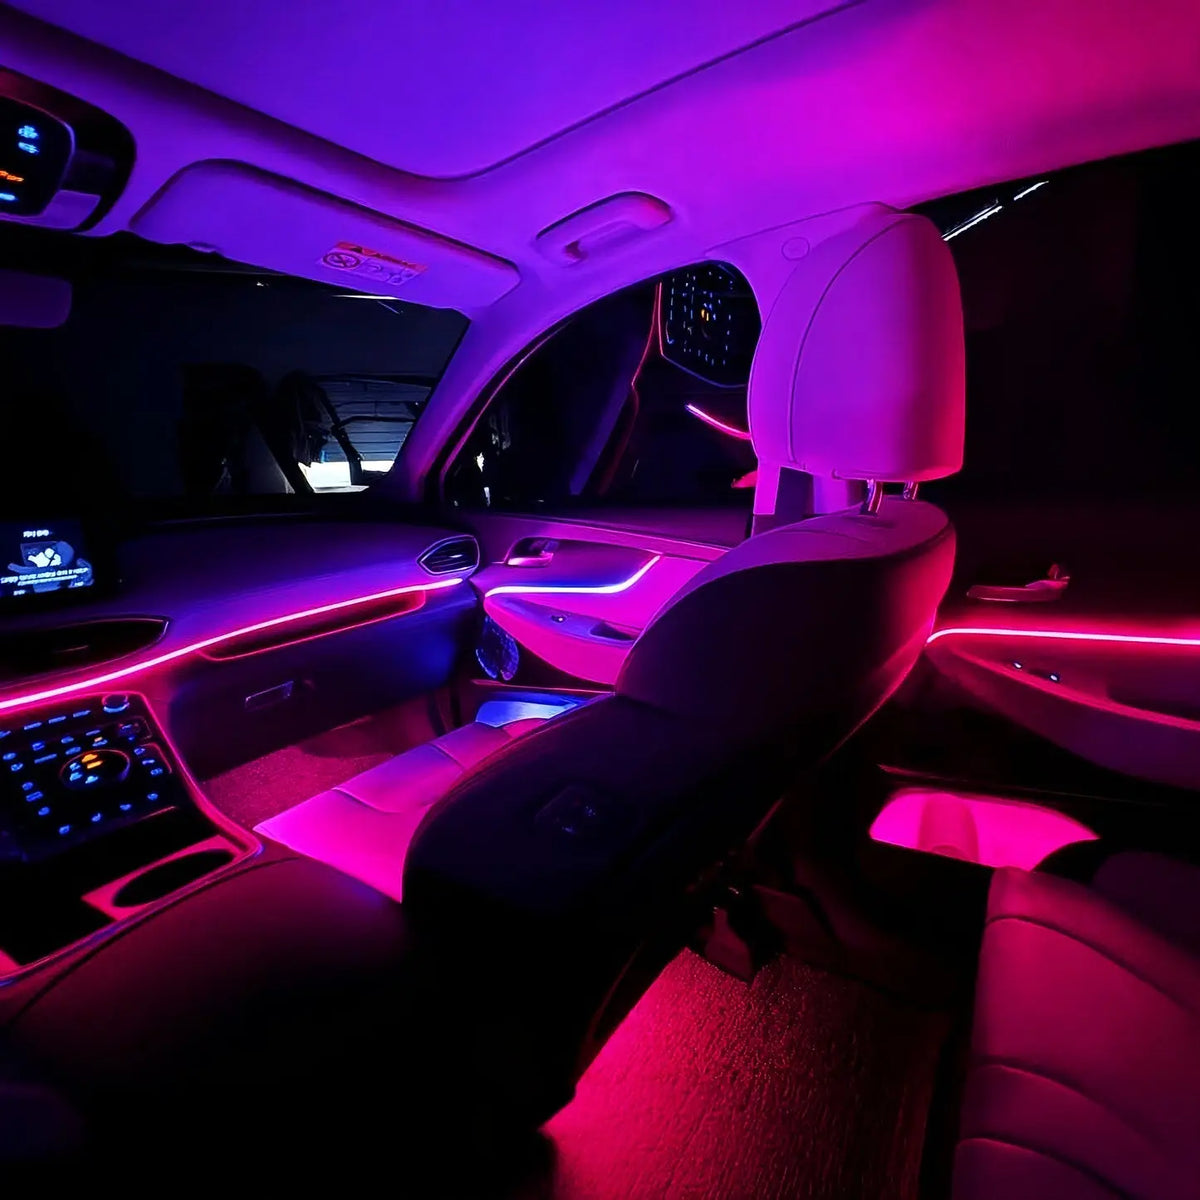
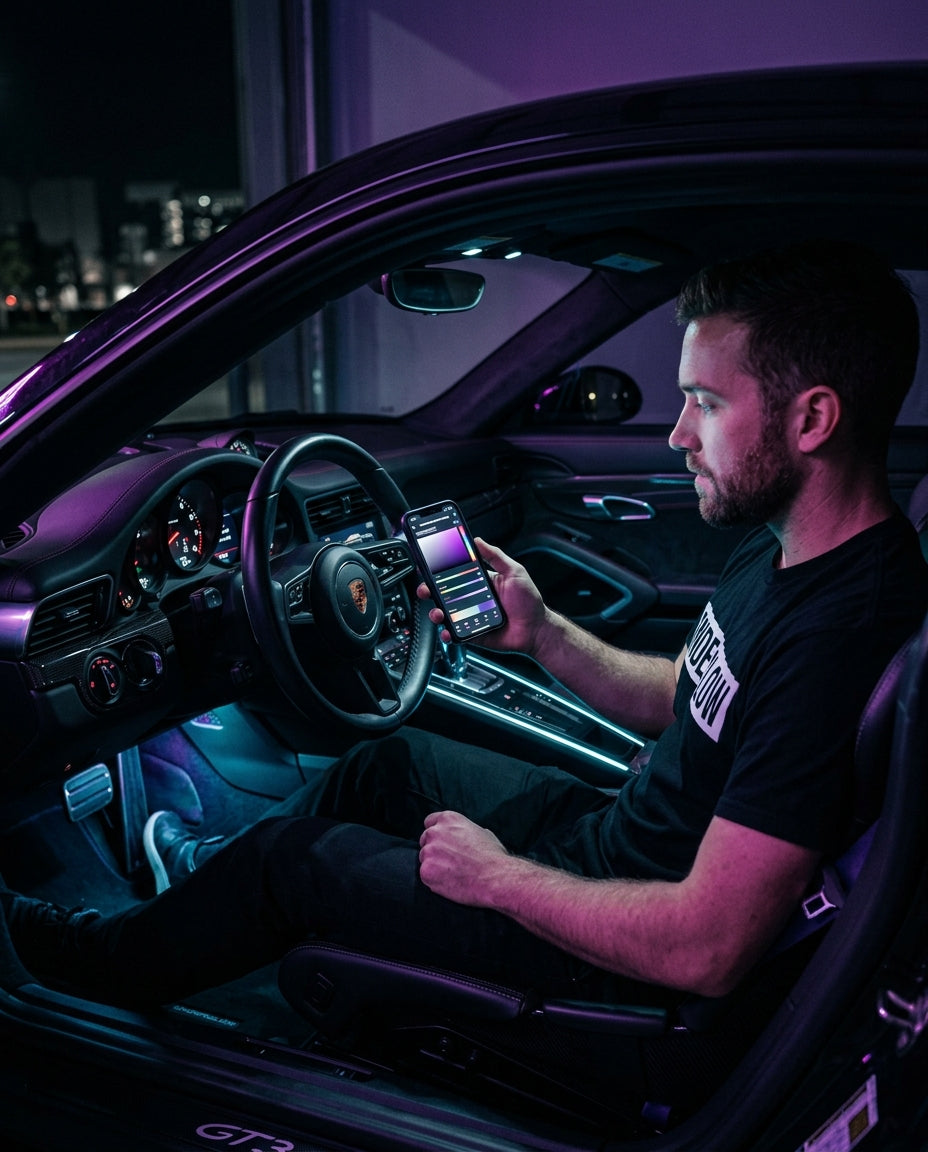
Modern car interior featuring Underglow multicolor LED ambient lighting and digital dashboards.
Before you start

Two minutes now saves an hour later.

  • Stay clear of airbags

    Never run strips or wires across panels marked SRS or AIRBAG, or near seat-mounted airbags.

  • Battery off for wiring

    Disconnect the negative battery terminal before you tap a fuse or unplug anything behind the trim.

  • Plan before you pry

    Lay every strip out on the seats and decide where each one goes before you remove a single panel.

  • Use plastic trim tools

    Metal screwdrivers scratch and crack trim. Plastic pry tools pop clips cleanly and leave no marks.

In the box

Everything's included.

Standard (18 pieces) or Premium (22 pieces). Every strip is thin and flexible, so it hides in the gaps your trim already has.

Everything's included.
  • 6×Flow Series dash stripsHyper-flexible acrylic in 90 cm, 75 cm and 15 cm lengths
  • Up to 16×Trim lightsDoor handles, door storage and speakers, depending on your kit
  • 1×ControllerRuns the app, colours and RGBIC effects
  • 1×Fuse box power leadConnects the kit to your fuse box
  • +Mounting hardware & user guideEverything to fix the lights in place
Tools

What you'll need.

Plastic trim tools do most of the work. No cutting or drilling into the dash.

  • Plastic trim removal tools
  • Phillips screwdriver and small sockets
  • Circuit tester or multimeter
  • Fuse tap (if your fuses are a different size)optional
  • Isopropyl alcohol and a clean cloth
  • Zip tiesoptional
Step by step

Six steps to a glowing cabin.

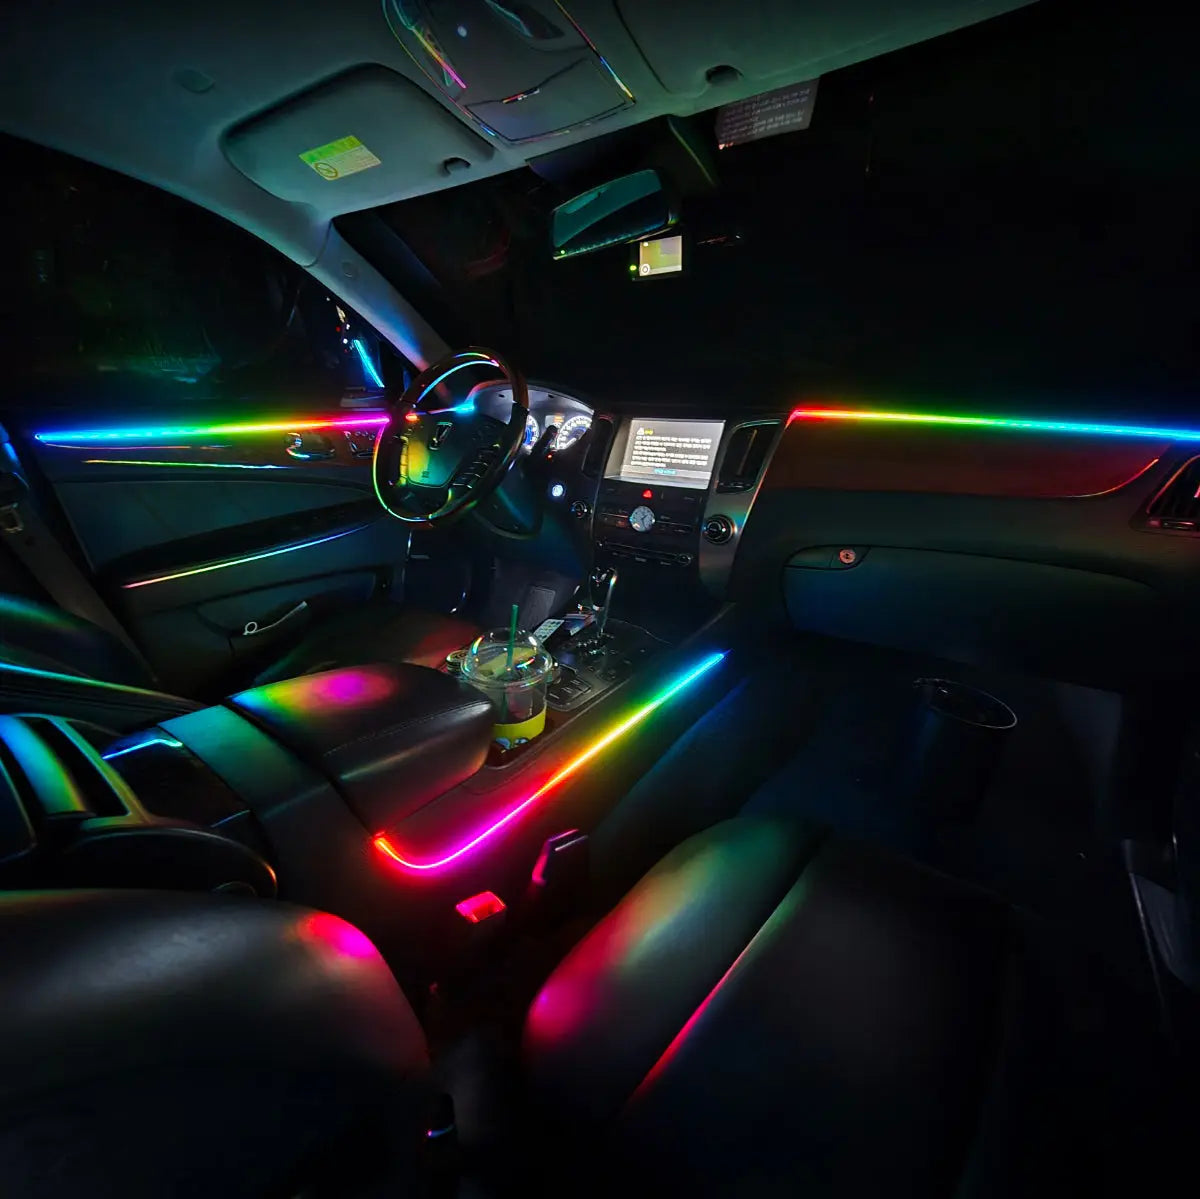
Start with the dash, then the doors. The photo follows the step you are reading.

Plan & test
1Step 1

Plan & test

Map out your cabin before anything comes apart.

  • Lay the strips and trim lights out where they will go: dash, centre console, doors, handles, storage and speakers.
  • Pick a spot for the controller near the fuse box, usually under the dash or behind the centre console.
  • Plug every light into the controller and check it all works once you have power in step 2.
Pro tipTake a photo of each panel before you remove it. It makes putting it back together much easier.
Find power at the fuse box
2Step 2

Find power at the fuse box

The kit connects directly to your fuse box. Use a circuit that is only live when the car is on, so the lights cannot drain the battery.

  • Disconnect the battery and find your interior fuse box (your owner's manual shows where).
  • With the car off, test fuses: any that light your tester are always live, so skip them.
  • Turn the key to accessory and test again. A fuse that is live only now is your accessory circuit.
  • Connect the kit's power lead there, using a fuse tap if the fuse sizes do not match.
  • Ground the kit to a bare metal bolt behind the dash.
Pro tipPick a non-critical circuit like the 12V socket or radio. Never use airbag, ABS or engine fuses.
Fit the dash & console strips
3Step 3

Fit the dash & console strips

The strips are thin enough to press into the seams your dash already has.

  • Wipe each seam with isopropyl alcohol and let it dry.
  • Open the seam slightly with a plastic trim tool and press the strip in, working from one end to the other.
  • Tuck each lead behind the trim and route it to the controller.
  • Keep strips and wires clear of the steering column and any airbag panel.
Pro tipWork in short sections. Pressing the strip in a little at a time gives the cleanest line.
Do the doors
4Step 4

Do the doors

Each door card comes off to fit the door strip and the handle, storage and speaker lights.

  • Remove the screw covers and screws, then pop the clips around the edge with a trim tool.
  • Fit the strip along the door card seam and the trim lights at the handle, storage pocket and speaker.
  • Route the leads through the rubber boot between the door and the body, following the factory wiring.
  • Connect each door as shown in the user guide, then test before you clip the card back on.
Pro tipMake sure no wire can get pinched in the door hinge. Open and close the door slowly to check.
Add the footwells
5Step 5

Add the footwells

If your kit includes footwell lights, they mount under the dash and light the floor.

  • Mount each footwell light under the dash, angled down at the floor.
  • Route the leads to the controller and zip-tie them up out of the way.
  • Make sure nothing hangs near the pedals or touches the steering column.
Pro tipKeep everything clear of the pedals. Press each pedal all the way to check.
Test, tidy & enjoy
6Step 6

Test, tidy & enjoy

Bring it to life, then button everything up.

  • Reconnect the battery, turn the car on and pair the controller with the app.
  • Test every strip and trim light, then try the RGBIC colour-chasing effects.
  • Zip-tie loose wires behind the dash and refit every panel.
  • Turn the car off and check the lights switch off with it.
Pro tipA user guide with detailed instructions is included in the box.
Wiring

Wiring at a glance.

One power connection at the fuse box, one ground, and every light connects back to the controller.

  • Power lead (fused)Accessory circuit at the fuse box
    Live only when the car is on, so the lights cannot drain the battery.
  • GroundBare metal bolt behind the dash
  • Dash strips & trim lightsController
    Follow the layout in the included user guide.
Pro tips

Do it once. Do it right.

  • Test as you goCheck each light works before its panel goes back on. Taking a door card off twice is no fun.
  • Keep it cleanWipe the strips with a dry microfibre cloth. Skip harsh chemicals to keep the acrylic bright.
  • No pinched wiresRoute leads along the factory wiring and away from hinges, seat rails and anything that moves.
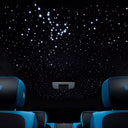
  • Go all inPair it with the Starlight Headliner for a matching glow from the floor to the roof.
FAQ

Install questions.

Stuck? Send us a photo and your order number and we'll help.

Will it fit my car?

Yes. The Flow Series kit is a universal fit and works with all vehicle models.

How long does the install take?

Most installs take 1 to 3 hours, depending on how many door panels come off.

Do I need to drill or cut anything?

No. The strips press into the seams your trim already has, and the kit connects to your fuse box.

Will it drain my battery?

Not if you connect it to an accessory circuit, which only has power when the car is on. Step 2 shows how to find one.

What does RGBIC mean?

Each strip can show several colours at once, so you get smooth colour-chasing patterns instead of one solid colour.

Are instructions included?

Yes. A user guide with detailed instructions is included in the box.

More guides

Installing more than one kit?

Ready to glow?

Pick Standard or Premium, and pair it with Starlight for the full night-sky cabin.