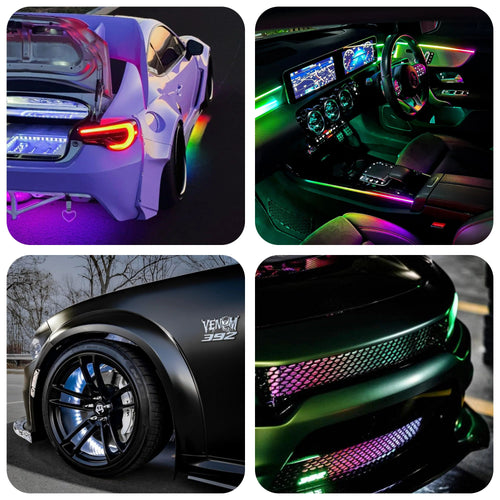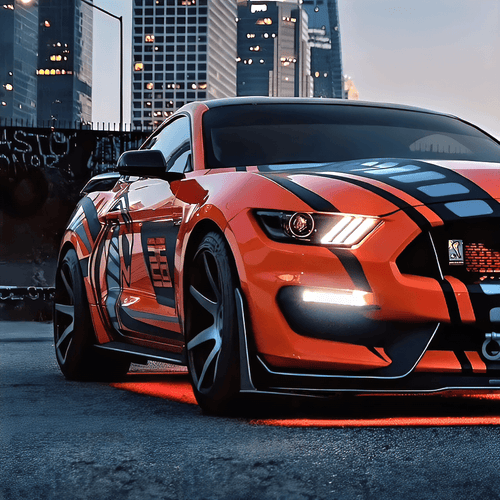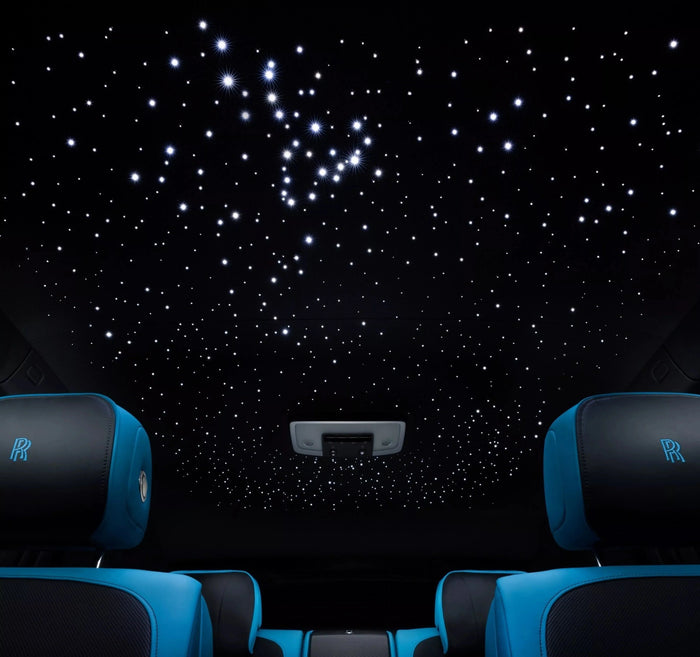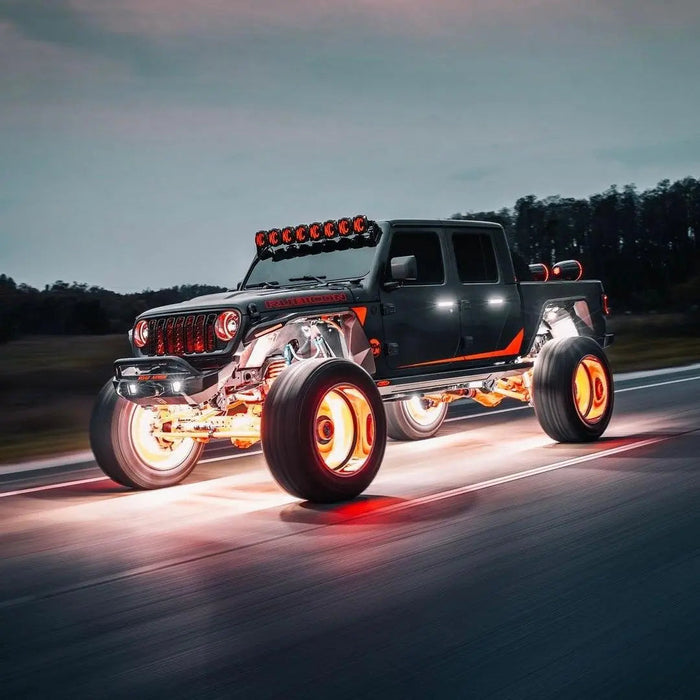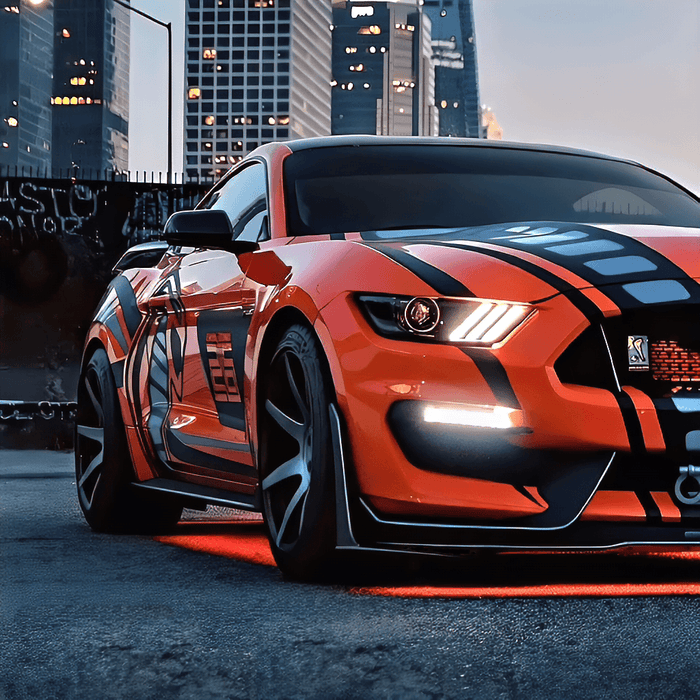


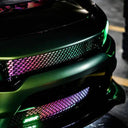

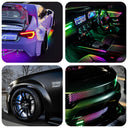

Underglow is one of the easiest exterior mods you can do yourself. Most of our customers install a kit in an afternoon with basic tools. A few minutes of planning first makes the difference between a clean, long-lasting install and strips hanging off the bottom of your car by spring.
Here are the eight things we'd check before you start.
1. Pick the right kit size
Underglow kits come in set lengths, and the right one depends on your vehicle's length and width rather than its badge. Ours come in three sizes:
| Kit | Front | Sides | Rear | Best for |
|---|---|---|---|---|
| Standard ($249) | 2 × 60 cm | 2 × 150 cm | 2 × 60 cm | Compact and everyday cars |
| Extended ($299) | 2 × 90 cm | 2 × 180 cm | 2 × 60 cm | Midsize cars, SUVs and trucks |
| Double Row ($449) | 2 × 90 cm | 2 × 160 cm | 2 × 60 cm | Show and performance builds |
Not sure? The size finder on the Underglow product page picks the right kit from your year, make and model. Our kit size guide goes into more detail.
2. Check your ground clearance and mounting surfaces
Get under the car with a flashlight and look for flat, solid places to mount each strip: pinch welds and rocker panels for the sides, the bumper's lower edge or crossmember at each end. Avoid anything that moves (suspension arms, steering parts), anything hot (exhaust, catalytic converter) and anything that scrapes on speed bumps. On lowered cars, tuck the strips up and inboard so they sit above the lowest point of the body.
3. Plan the power and the switch
Our kits run on your vehicle's 12V system through an inline fuse, and the control box has a built-in toggle switch so you can power the lights off without your phone. Decide where the switch will sit (within reach, but not where a passenger will knock it) and route the power lead away from the exhaust. If you're unsure about wiring to the battery, an auto electrician or audio shop can do it quickly.
4. Make sure it's waterproof, really waterproof
Canadian winters mean slush, salt and car washes. Look for an IP68 rating on the strips themselves, not just the box. All Underglow strips are IP68 rated. Seal connections with the supplied fittings and point connectors downward so water can't sit in them.
5. Know the rules where you drive
In most provinces, lit underglow on a public road can get you a ticket, and red, blue and flashing lights are off-limits everywhere. Read our Canadian underglow legal guide before you drive with your lights on, and use the switch whenever you're on the road.
6. Think about warranty and insurance
A plug-in accessory kit doesn't usually affect your vehicle warranty, but a dealer can refuse to cover electrical problems they can trace back to an aftermarket install, so wire it neatly and fuse it properly. It's also worth telling your insurer about visible modifications. Every Underglow kit includes a 1-year warranty, and an optional Underglow Care+ plan adds extra protection.
7. Budget for the whole job
- Kit: $249 to $449 for Underglow depending on size
- Extra length (only if needed): Extension Strips add 30 cm sections for long or wide vehicles
- Supplies: extra zip ties, adhesion promoter and rubbing alcohol for prep
- Install: free if you do it yourself; if not, ask a local audio or lighting shop for a quote
Planning more than underglow? The Ultimate Glow bundle combines Underglow with Engine Lighting, WheelGlow and interior upgrades for less than buying each one separately.
8. Prep is everything
Most failed installs come down to adhesion. Wash and degrease every mounting spot, wipe it with rubbing alcohol, and install in a warm garage if you can. Adhesive doesn't bond well in the cold. Use the supplied clips and zip ties as well as the tape, and test every strip before you tidy the wiring.
Ready to go? Follow our step-by-step install guide, and keep our maintenance checklist handy for winter.