
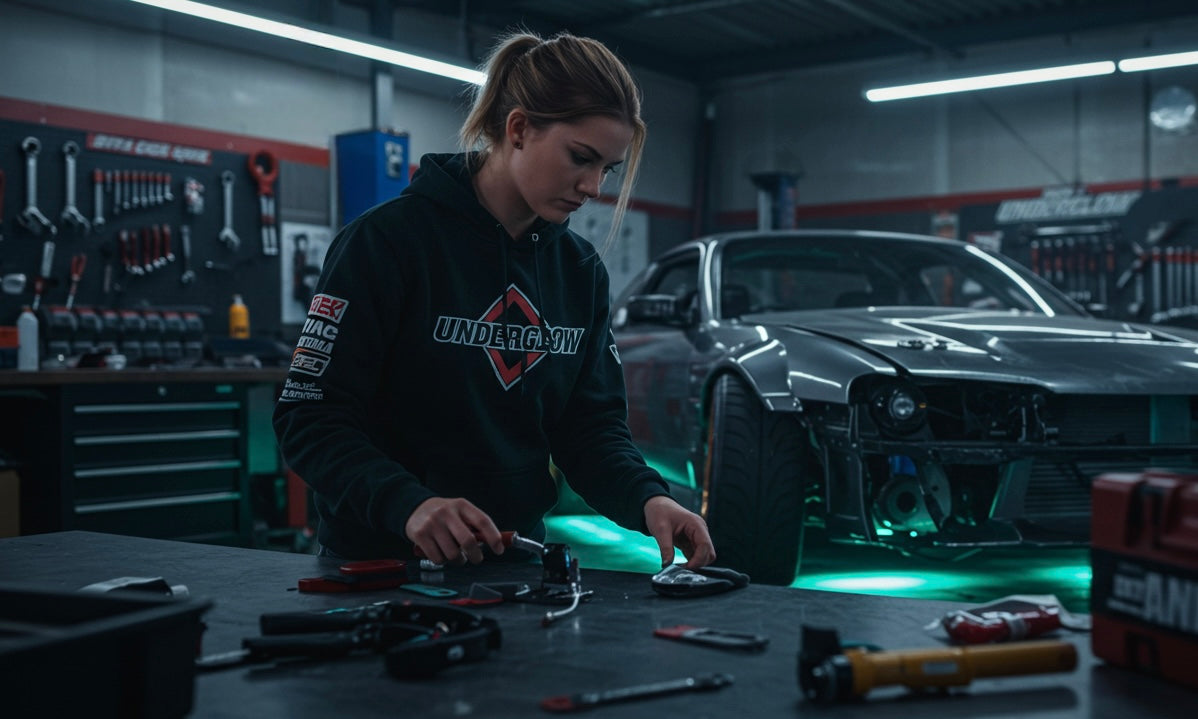
Install Guide
-

Pro Tips
- Test all lights before finalizing wire routing.
- For trucks/SUVs, use extended size kit or extensions strips if needed.
- Avoid placing the controller near high heat (e.g., near the exhaust manifold).
- The zip ties or mounting brackets should be placed every 1-2 feet under the vehicle.
-
Tools Required
- Jack & jack stands or car ramps (optional)
- Drill with self-tapping screws (optional)
- Zip ties & mounting brackets (included)
- 12V power source access
- Screwdriver or panel removal tool
- Degreaser to clean dirt, grease, and debris
-
What’s in the Box
- 2x Side LED strips
- 4x Front & rear LED strips
- 4x Extension cables
- 1x Bluetooth control module
- 1x Switch, Fuse & wiring harness
- 3M mounts, zip ties & screws


Step 1:
Prep the Vehicle
Underglow kit is easy to install as long as you have basic tool knowledge.
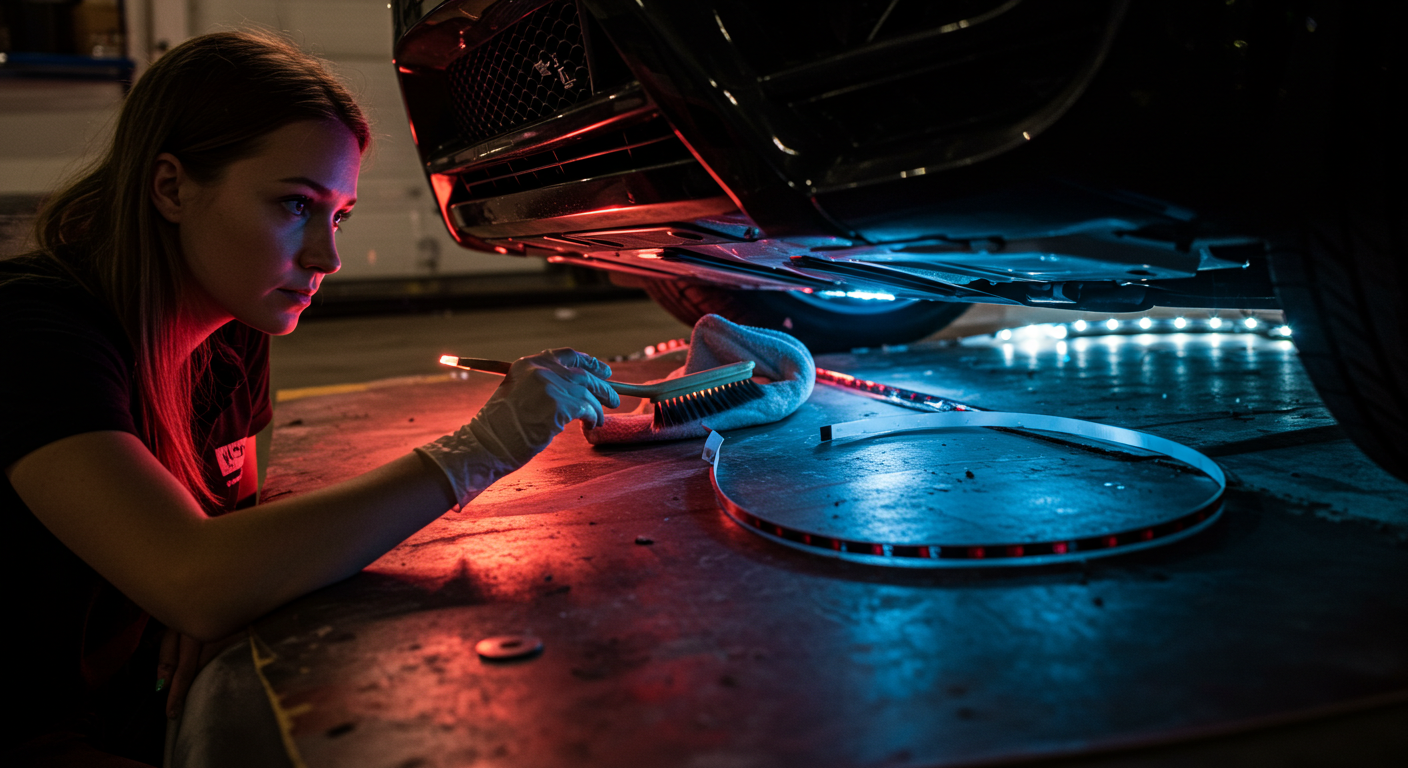
- Park on a flat surface and disconnect the battery.
- Clean mounting surfaces using isopropyl alcohol or a degreaser to clean dirt, grease, and debris from where you’ll place the strips.
- Let surfaces dry before sticking the strips.
Each kit comes with everything you need for successful installation.
Step 2:
Position the LED Strips
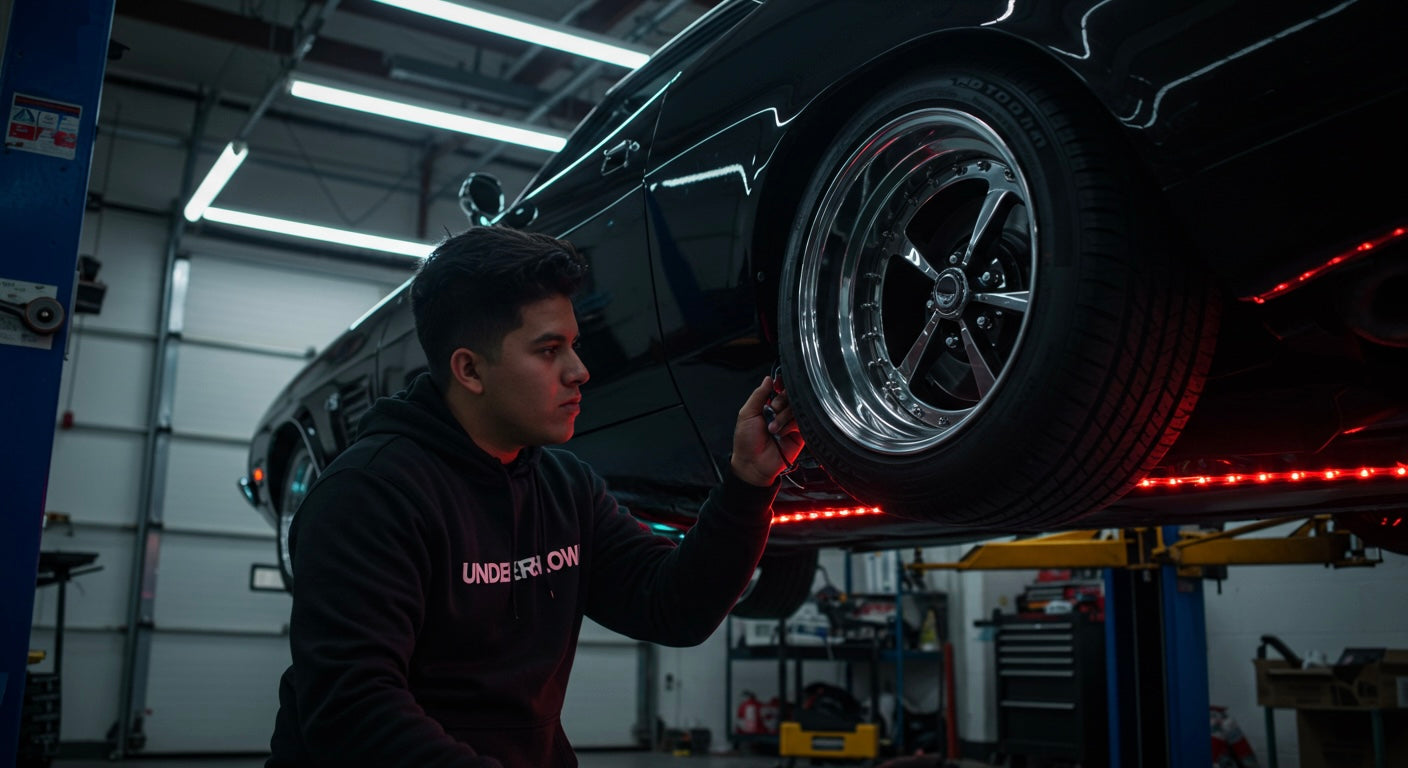
Set the LED strip under your vehicle following directions of arrows marked on each strip. Keep the strips out of direct view to hide the LEDs and maximize glow effect.
- Sides: Mount under rocker panels or along pinch welds.
- Front & Rear: Tuck behind front bumper or mount to subframe.
- Use zip ties with 3m mounts or screws to reinforce where needed.
If needed, temporarily mount the strips using LED tape.

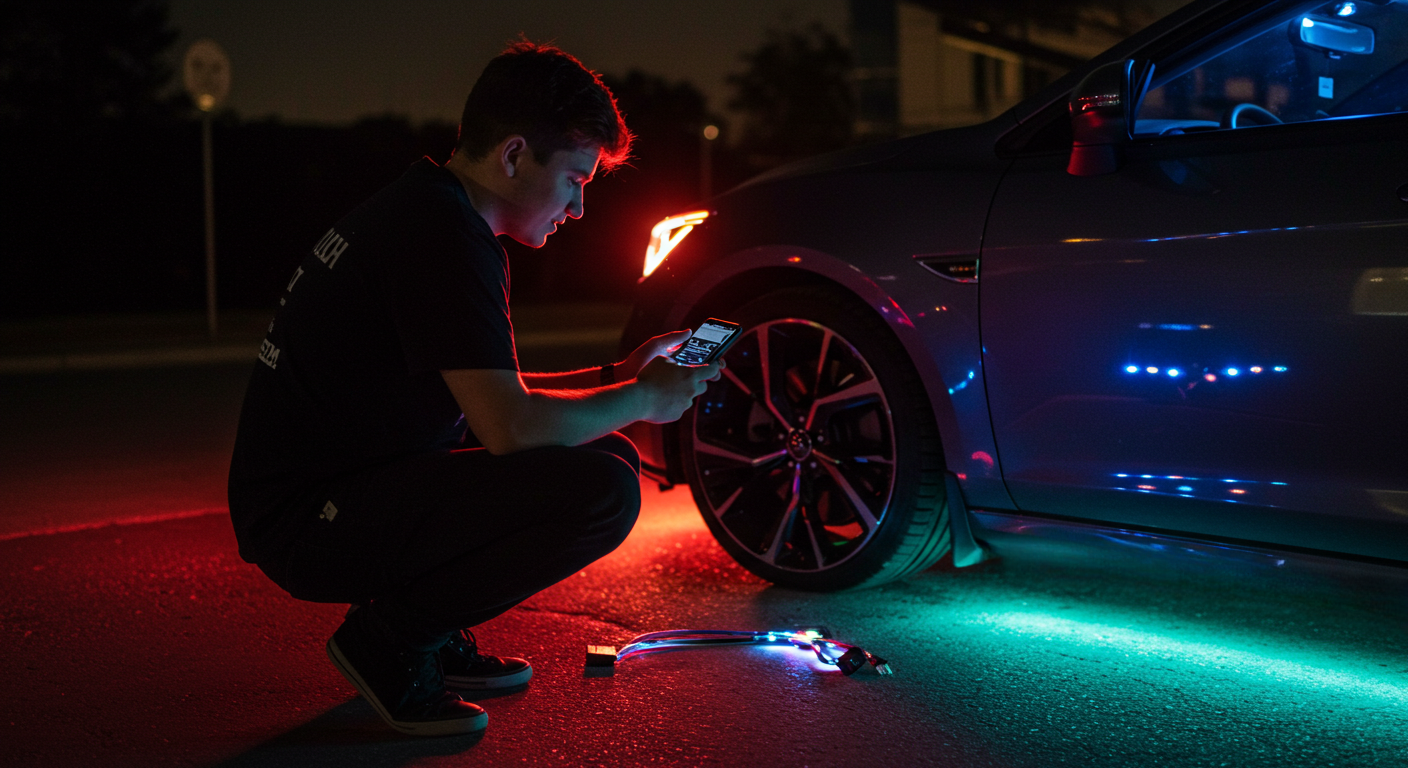
Step 3:
Connect the Strips
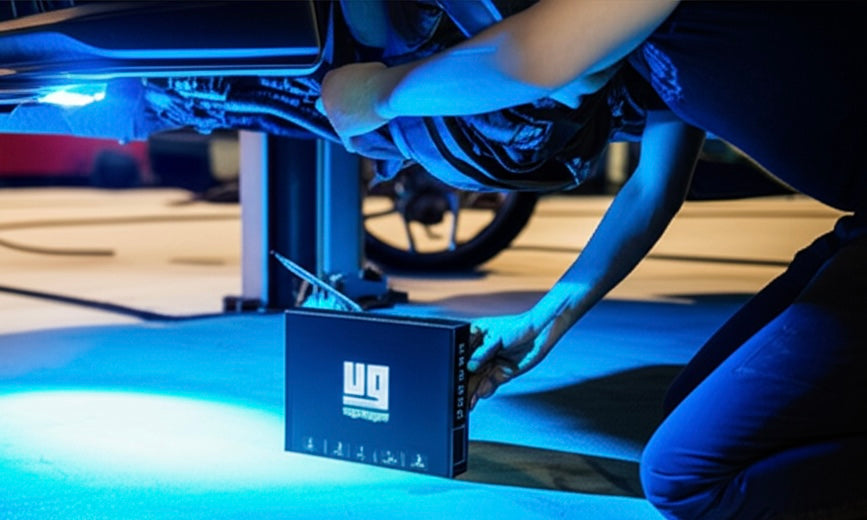
Place the Bluetooth Controller in the engine bay or another safe and dry area and connect the wires to the module.
- Connect each strip with the weatherproof connectors and secure them.
- Route the switch and controller in cabin.
- Route wires away from hot/moving parts using zip ties.
- Use rubber grommets when passing through metal. (optional)
Use the extension wires and included zip ties and mounting brackets to permanently secure the LED strip to your vehicle.

Step 4:
Power Connection
Connect the Bluetooth controller power wire (red wire) to the battery (+) positive terminal and black wire to the (-) negative terminal post or ground to any metal in engine bay.
- Connect directly to the battery using the included wiring harness.
- Alternatively, fuse tap to connect to ignition power (optional).
Make sure no wires are dangling or exposed to heat, sharp edges, or moving parts like the wheels or suspension.
Step 5:
Test & Secure
Use provided zip ties or adhesive clips to tidy up and secure all wiring along the frame or underbody.
- Reconnect battery and test all strips via the app and remote.
- If everything works, mount the controller in a dry, hidden spot.
Your underglow kit is fully installed. Open the app, set your favorite color or mode, and hit the streets with confidence.
User guide with detailed instructions is included in the box.